 Pre built UI
How to use the user management dashboard
With the user management dashboard, you can view the list of users on SuperTokens and be able to easily view, modify or delete their sessions, metadata, roles and account info.
Complete quick setup#
Before you can use the user management dashboard make sure to complete setting up SuperTokens on your backend by following the quick setup guide for the recipe of your choice, view all recipes here
Initialise the dashboard recipe#
To get started, initialise the Dashboard recipe in the recipeList.
- NodeJS
- GoLang
- Python
- Other Frameworks
Important
import SuperTokens from "supertokens-node";
import Dashboard from "supertokens-node/recipe/dashboard";

SuperTokens.init({
  appInfo: {
    apiDomain: "...",
    appName: "...",
    websiteDomain: "...",
  },
  recipeList: [
    // TODO: Initialise other recipes
    Dashboard.init(),
  ],
});
import (
    "github.com/supertokens/supertokens-golang/recipe/dashboard"
    "github.com/supertokens/supertokens-golang/supertokens"
)

func main() {
  supertokens.Init(supertokens.TypeInput{
      RecipeList: []supertokens.Recipe{
        // TODO: Initialise other recipes
        dashboard.Init(nil),
      },
  });
}
from supertokens_python import init, InputAppInfo
from supertokens_python.recipe import dashboard

init(
    app_info=InputAppInfo(
        api_domain="...", app_name="...", website_domain="..."),
    framework='...',
    recipe_list=[
        # TODO: Initialise other recipes
        dashboard.init(),
    ]
)
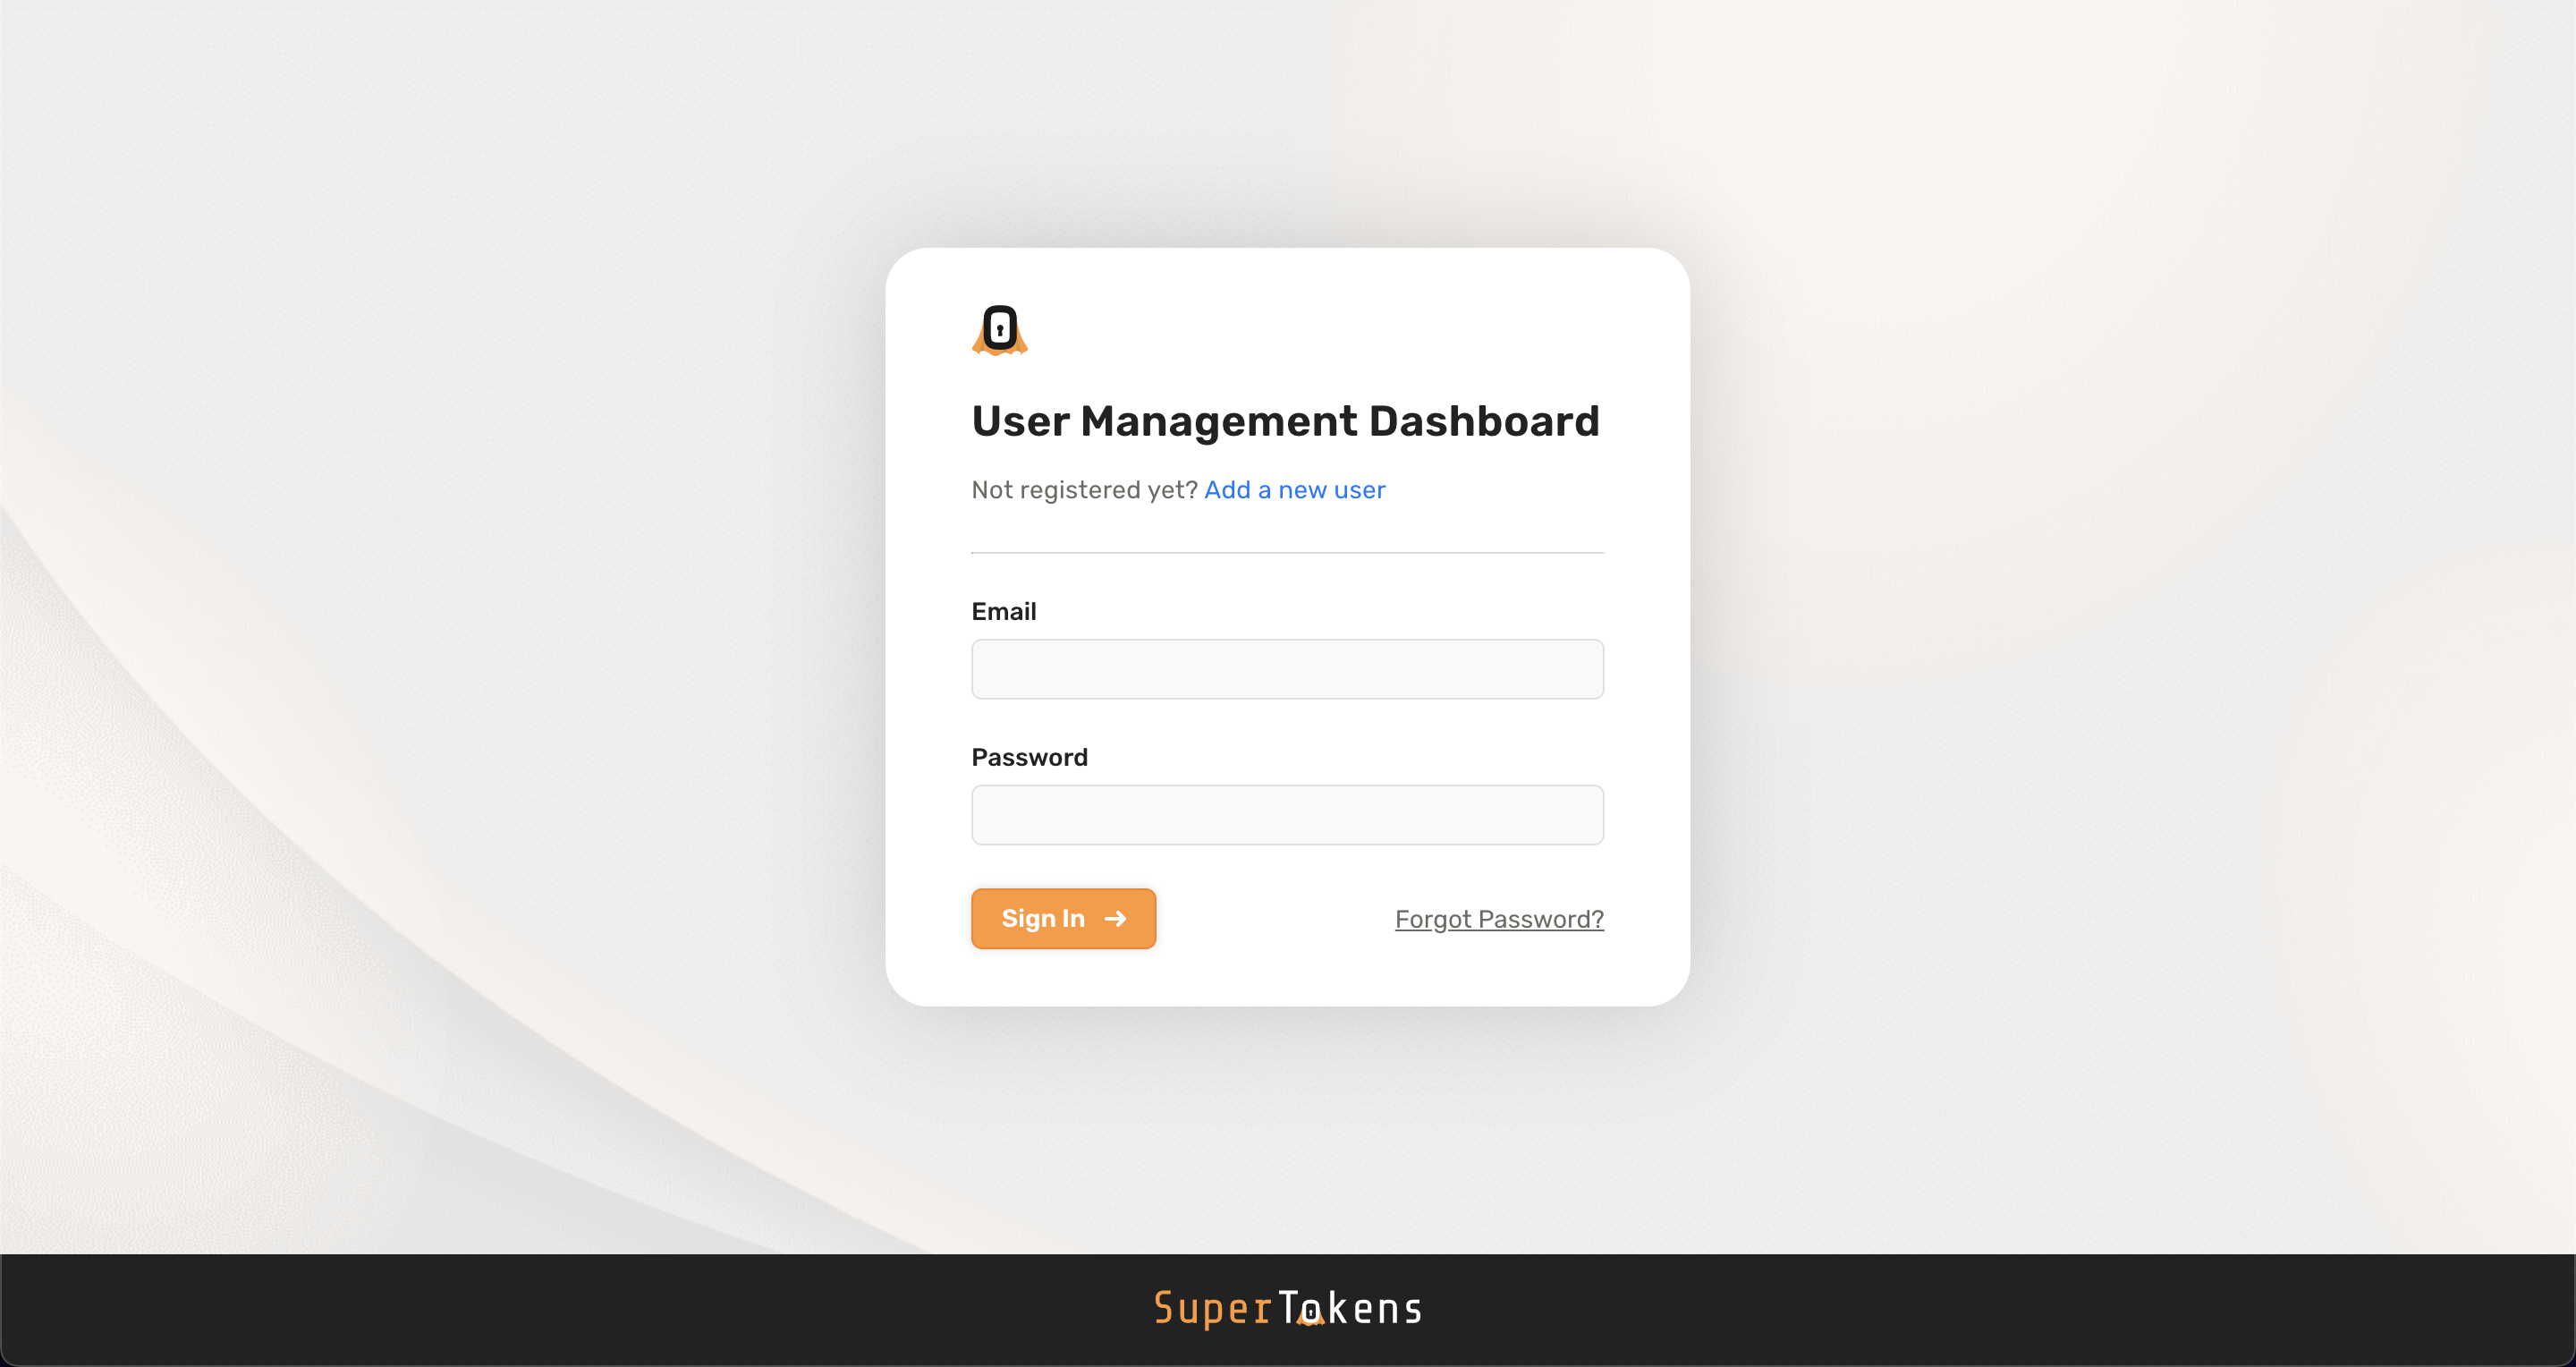
Viewing the dashboard#
important
The user management dashboard is served by the backend SDK, you have to use your API domain when trying to visit the dashboard.
Navigate to <YOUR_API_DOMAIN>/auth/dashboard to view the dashboard.
Creating dashboard credentials#
Paid Feature
You can create 3 dashboard users* for free.
If you need to create additional users:
- For self hosted users, please sign up to generate a license key and follow the instructions sent to you by email.
- For managed service users, please email us.
*: A dashboard user is a user that can log into and view the user management dashboard. These users are independent to the users of your application
When you first setup SuperTokens, there are no credentials created for the dashboard. If you click the "Add a new user" button in the dashboard login screen you can see the command you need to execute in order to create credentials.
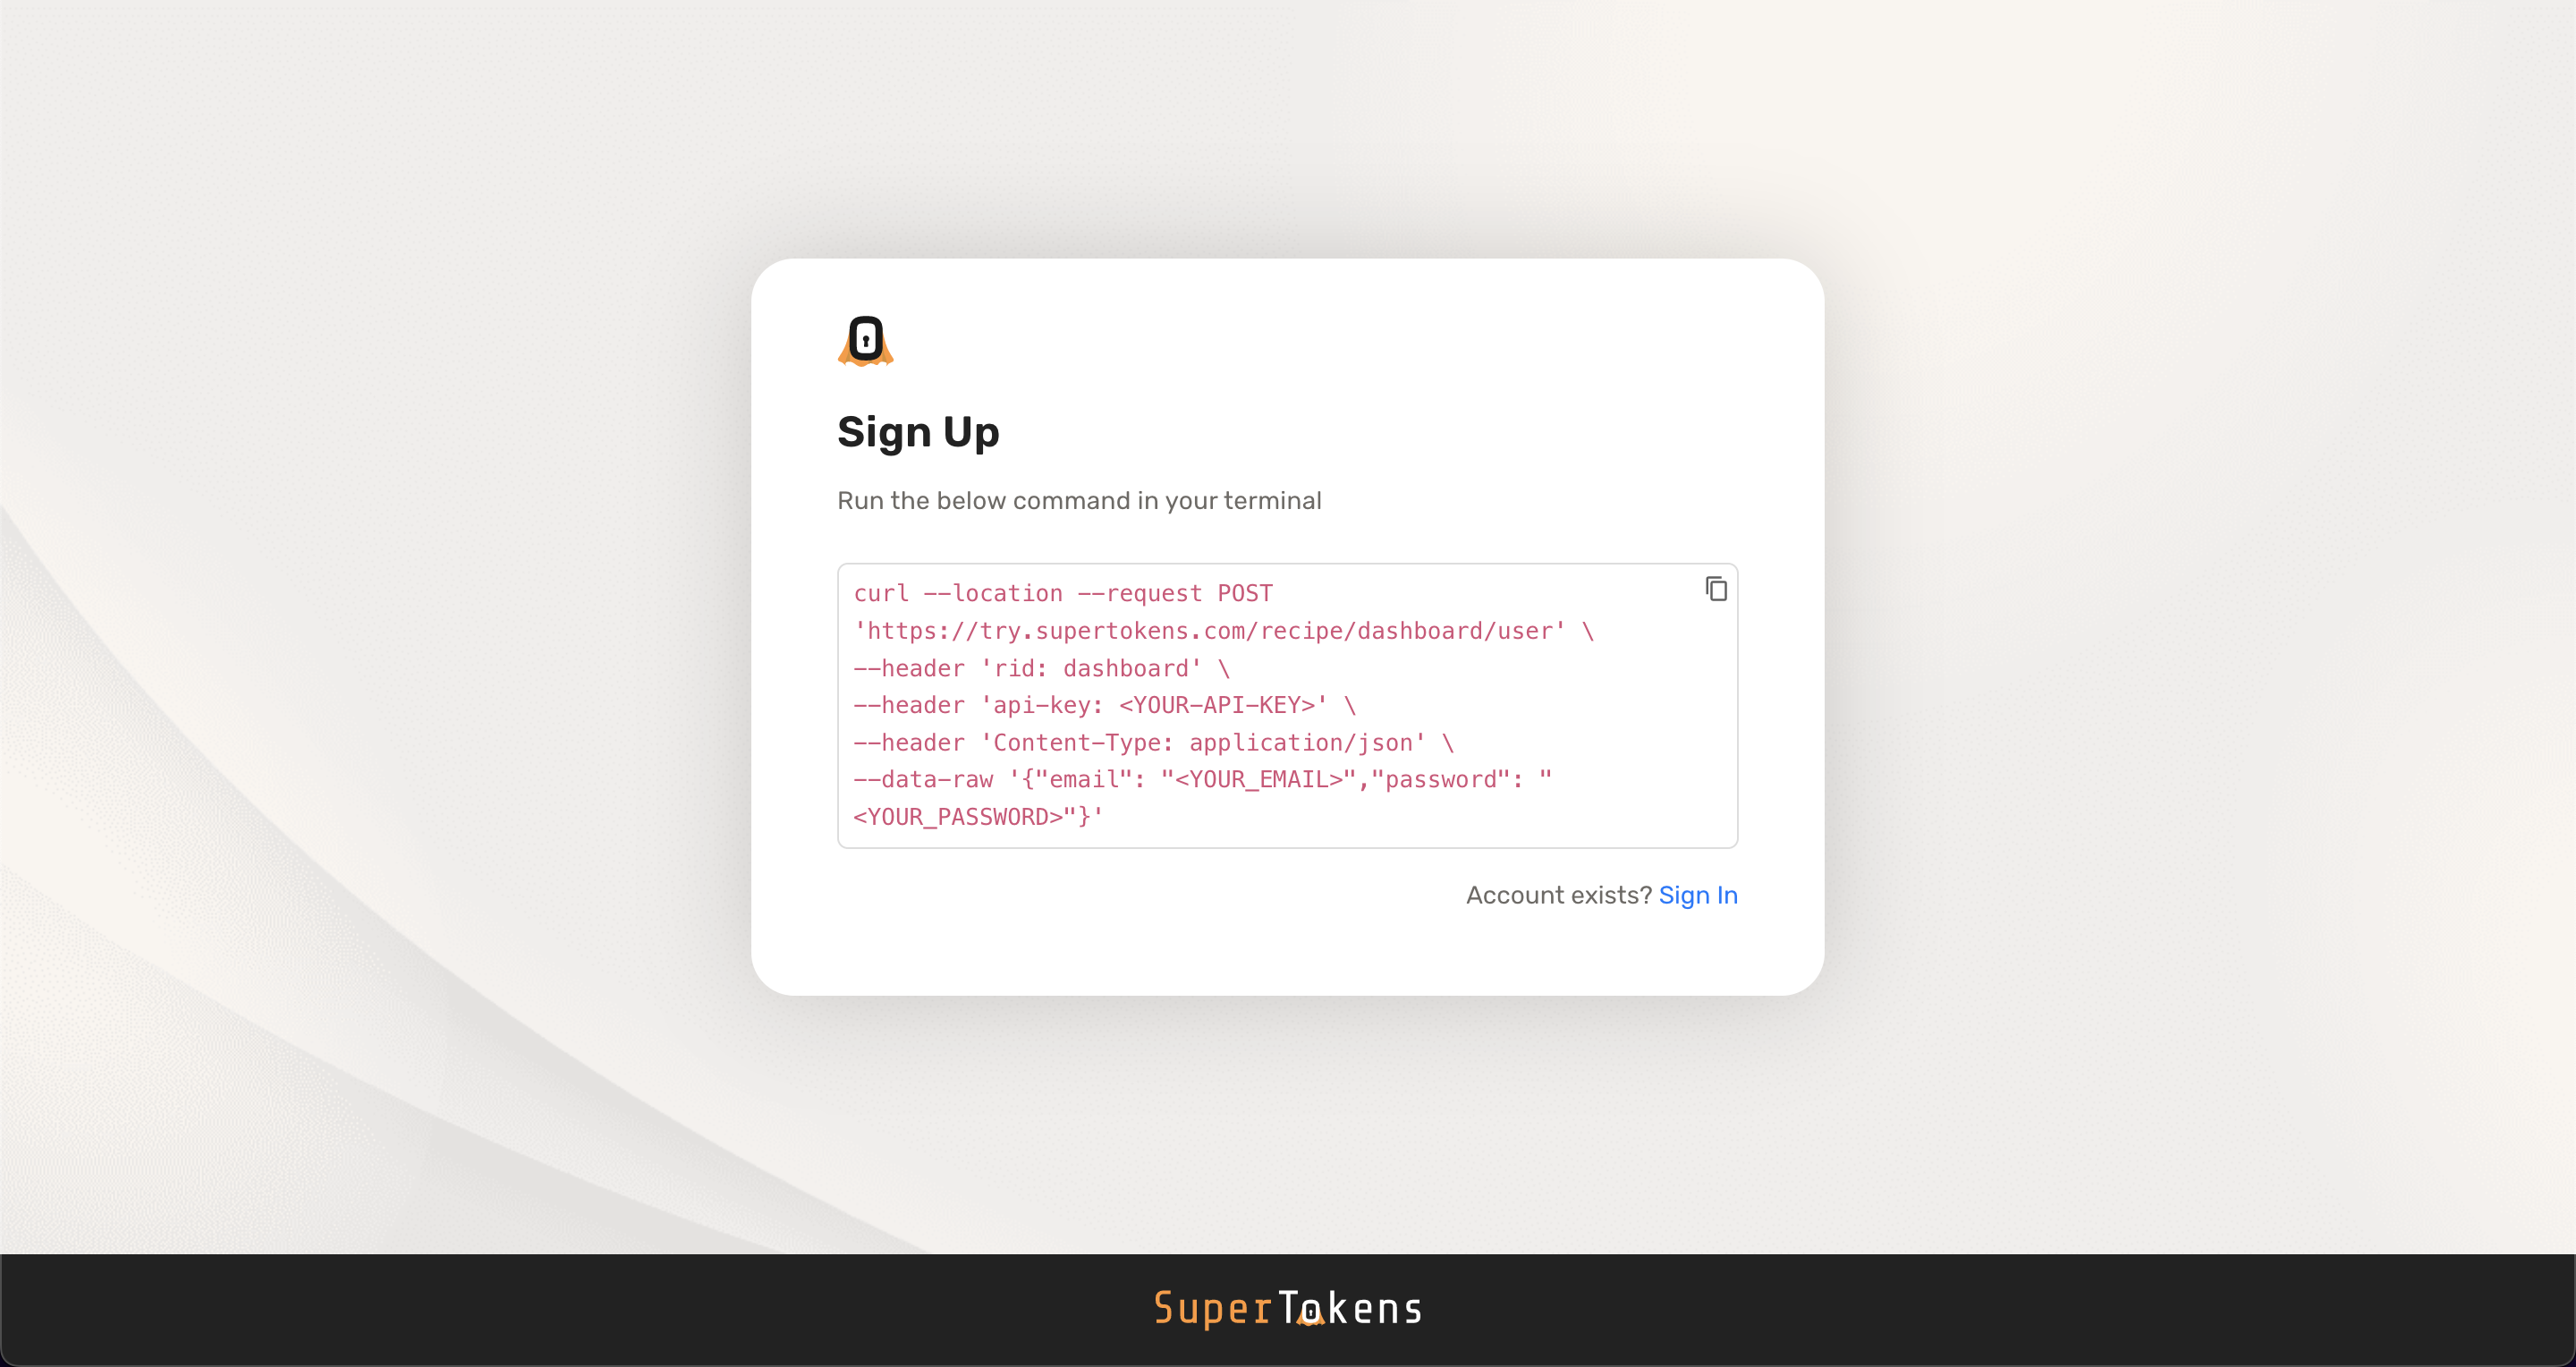
To create credentials you need to make a request to SuperTokens core.
- The example above uses the demo core
https://try.supertokens.com, replace this with the connection uri you pass to the backend SDK when initialising SuperTokens. - Replace
<YOUR-API-KEY>with your API key. If you are using a self hosted SuperTokens core there is no API key by default. In that case you can either skip or ignore theapi-keyheader. - Replace
<YOUR_EMAIL>and<YOUR_PASSWORD>with the appropriate values.
caution
If using self hosted SuperTokens core, you need to make sure that you add an API key to the core in case it's exposed to the internet. Otherwise anyone will be able to create or modify dashboard users.
You can add an API key to the core by following the instructions "Auth flow customizations" > "SuperTokens core settings" > "Adding API keys" page.
Updating dashboard credentials#
You can update the email or password of existing credentials by using the "Forgot Password" button on the dashboard login page.
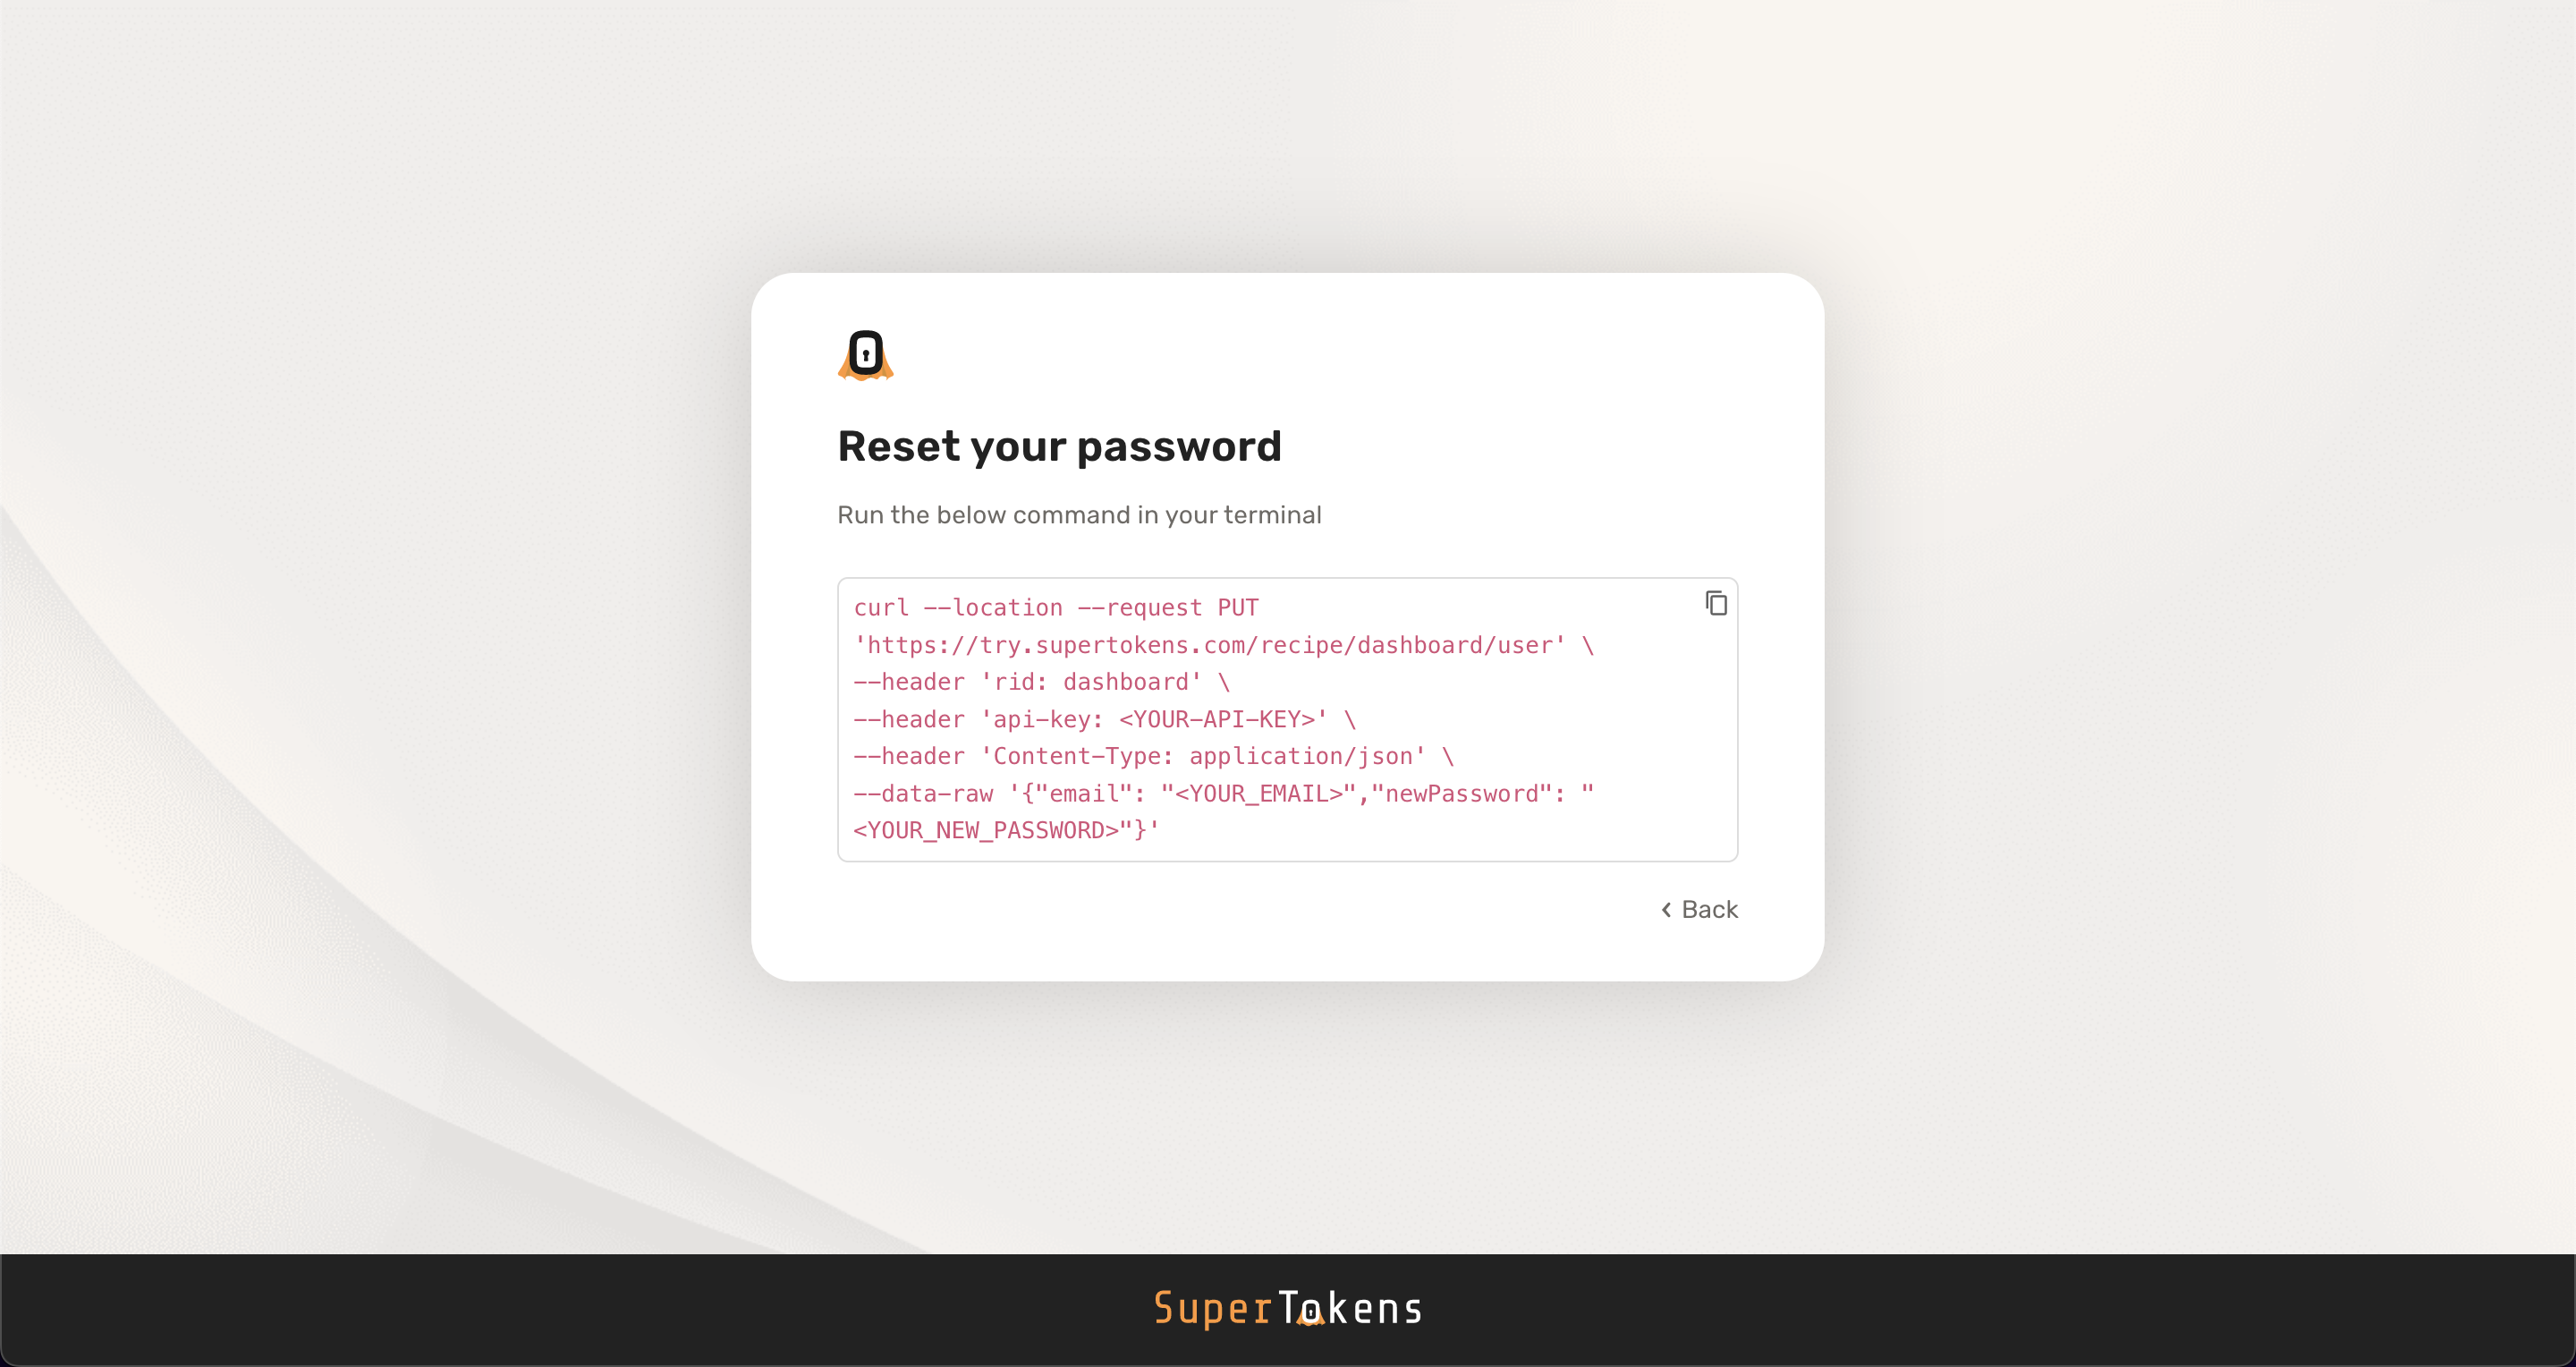
To update credentials you need to make a request to SuperTokens core.
- The example above uses the demo core
https://try.supertokens.com, replace this with the connection uri you pass to the backend SDK when initialising SuperTokens. - Replace
<YOUR-API-KEY>with your API key. If you are using a self hosted SuperTokens core there is no API key by default. In that case you can either skip or ignore theapi-keyheader. - Replace
<YOUR_EMAIL>and<YOUR_NEW_PASSWORD>with the appropriate values. You can usenewEmailinstead ofnewPasswordif you want to update the email
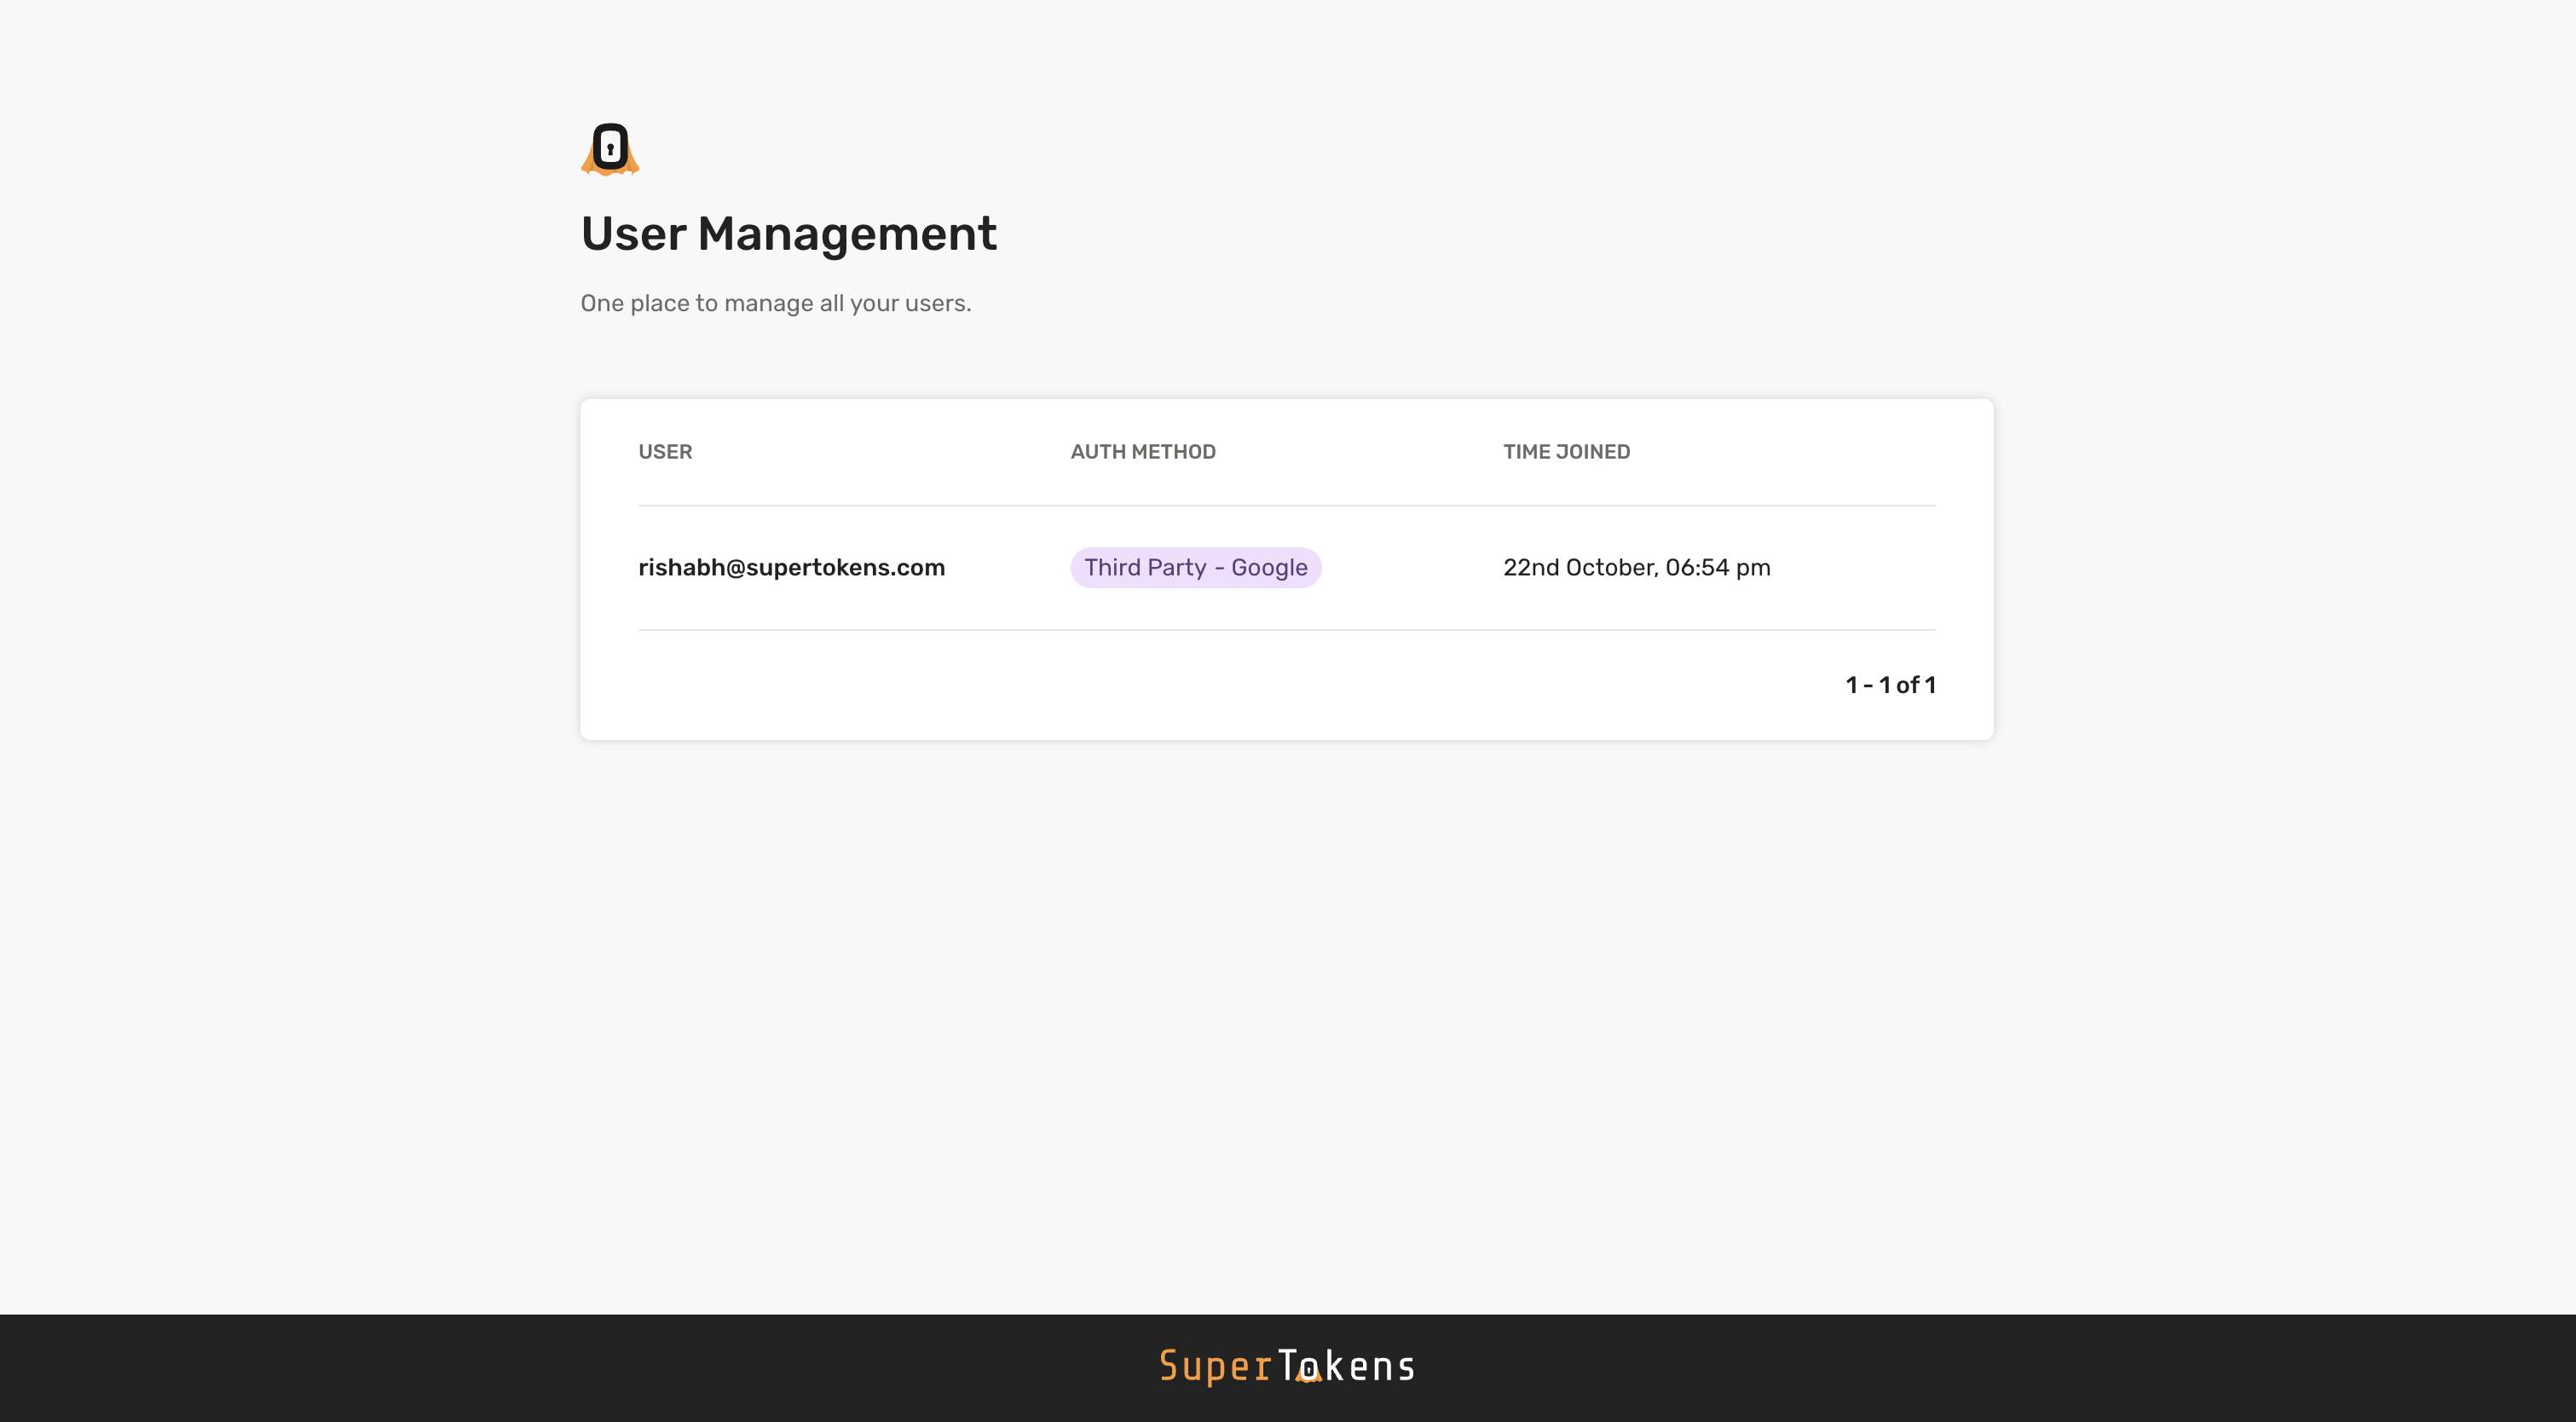
Viewing users list#
If you have just created your app, you may not have any users to show on the dashboard.
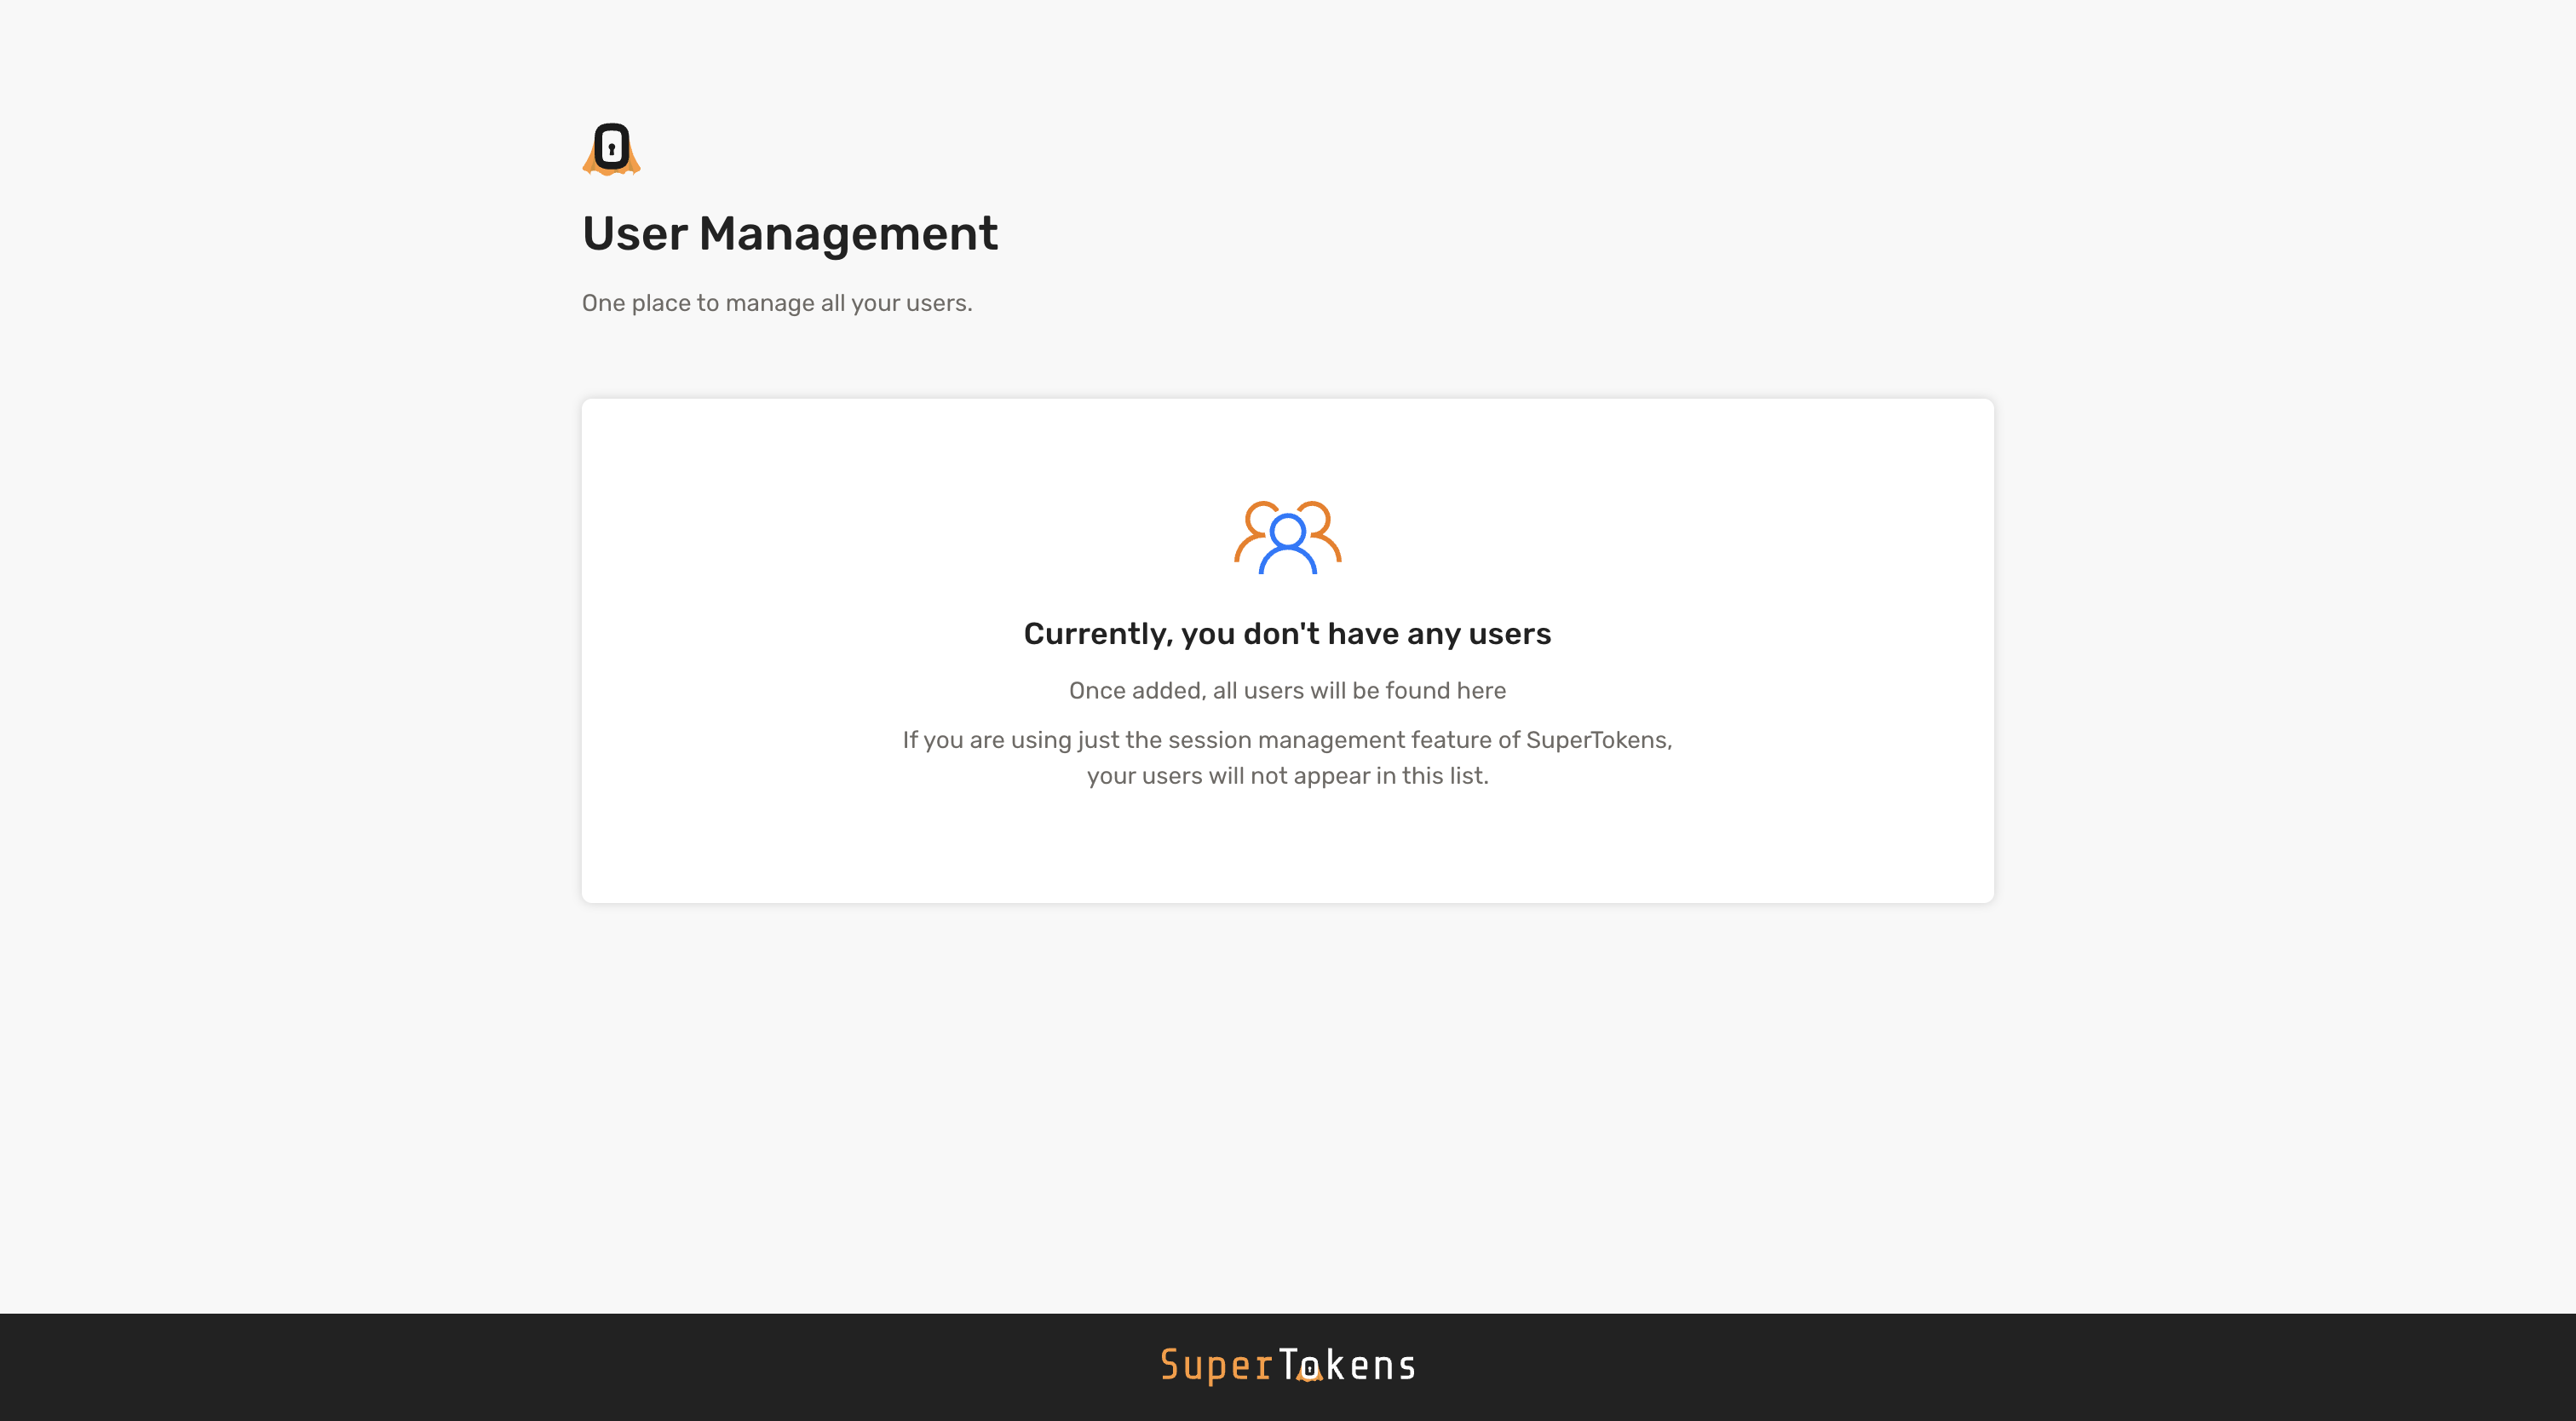
Navigate to the your frontend app and create a user (via the sign up flow). On creation, if you head back to the dashboard and refresh the page, you will see that user:
User details page#
When you select a user you can view detailed information about the user such as email, phone number, user metadata etc.
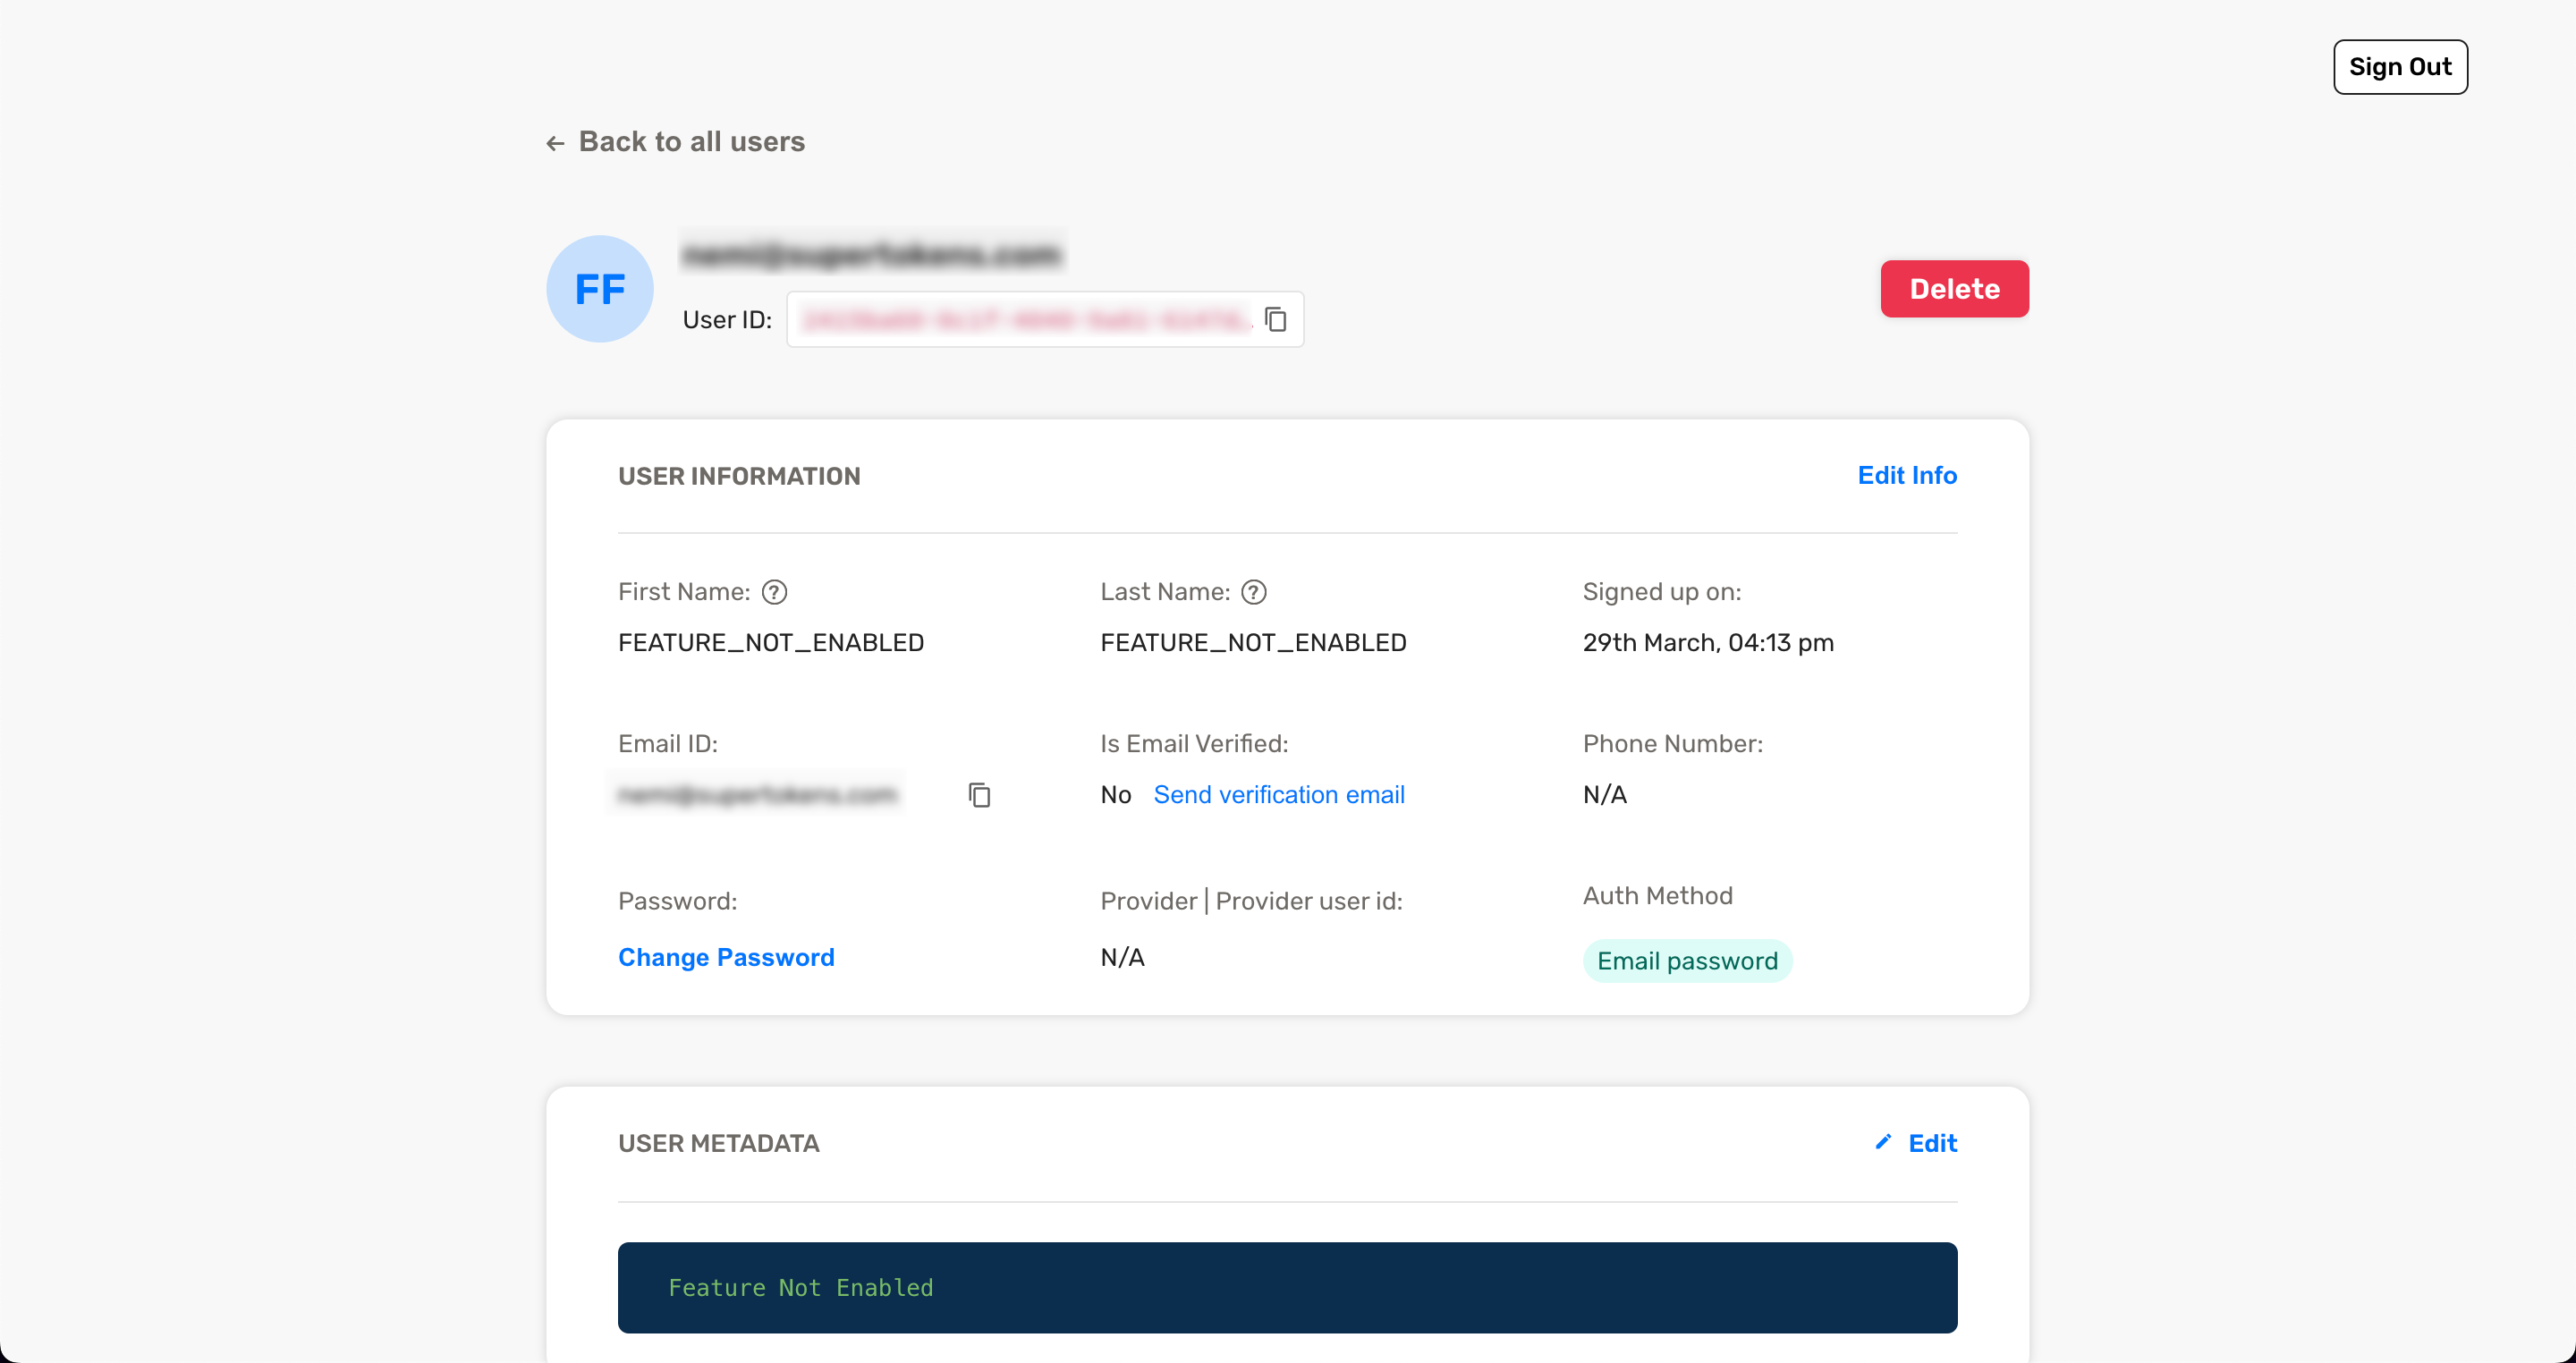
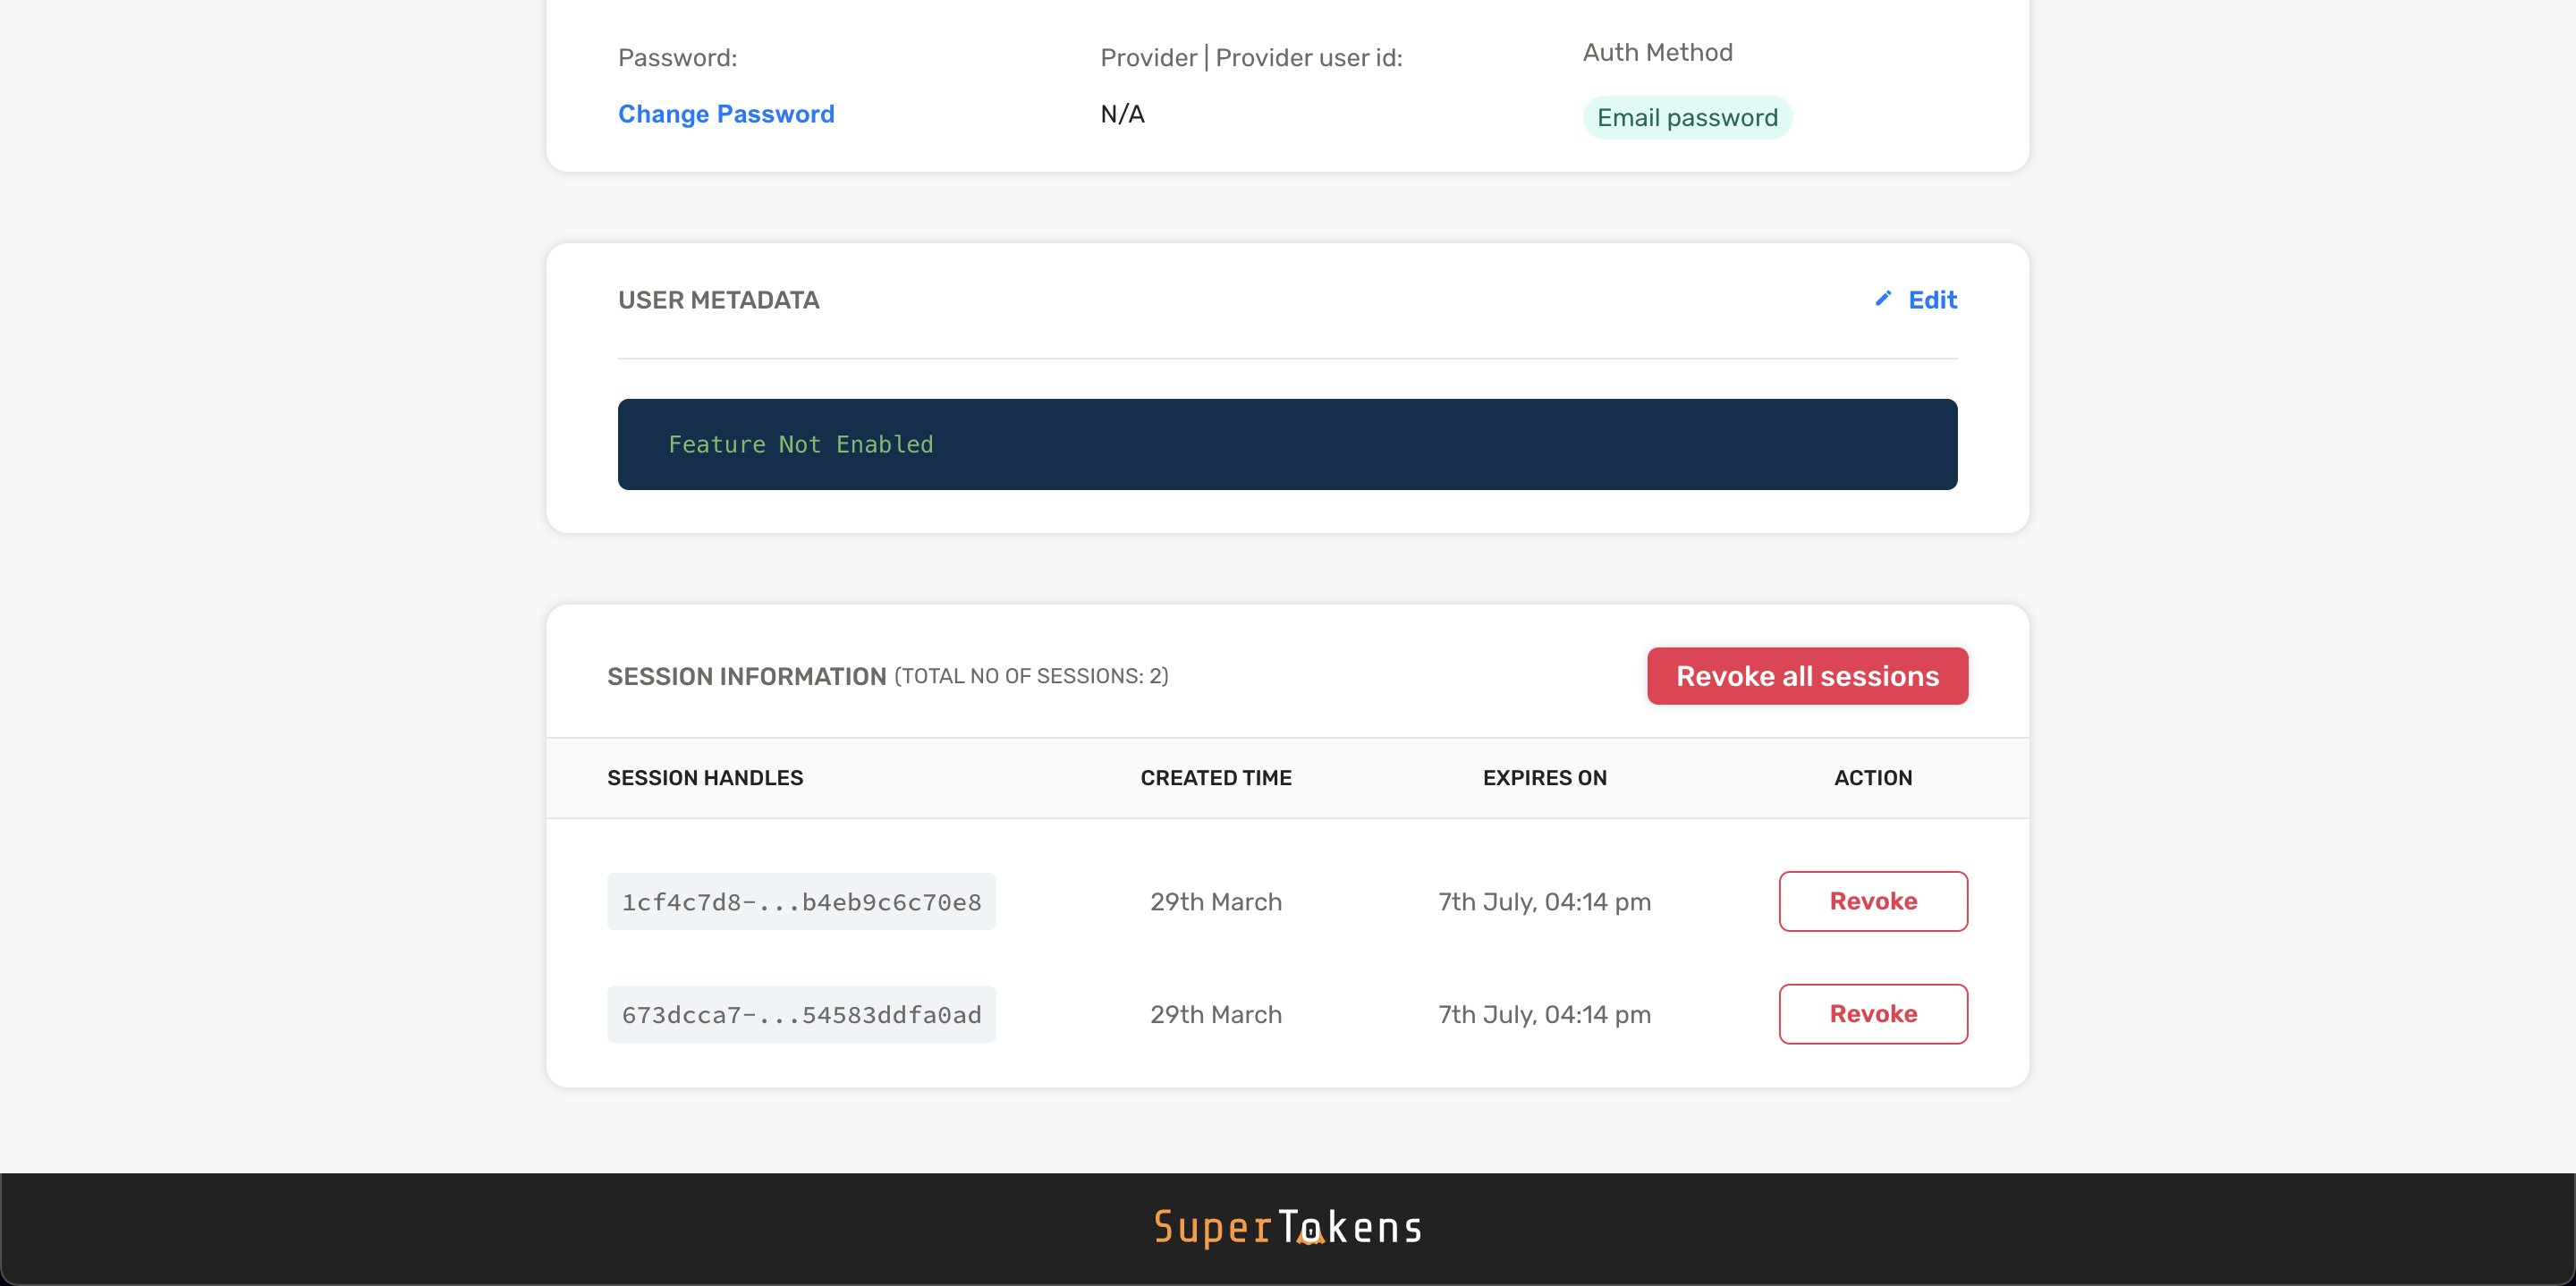
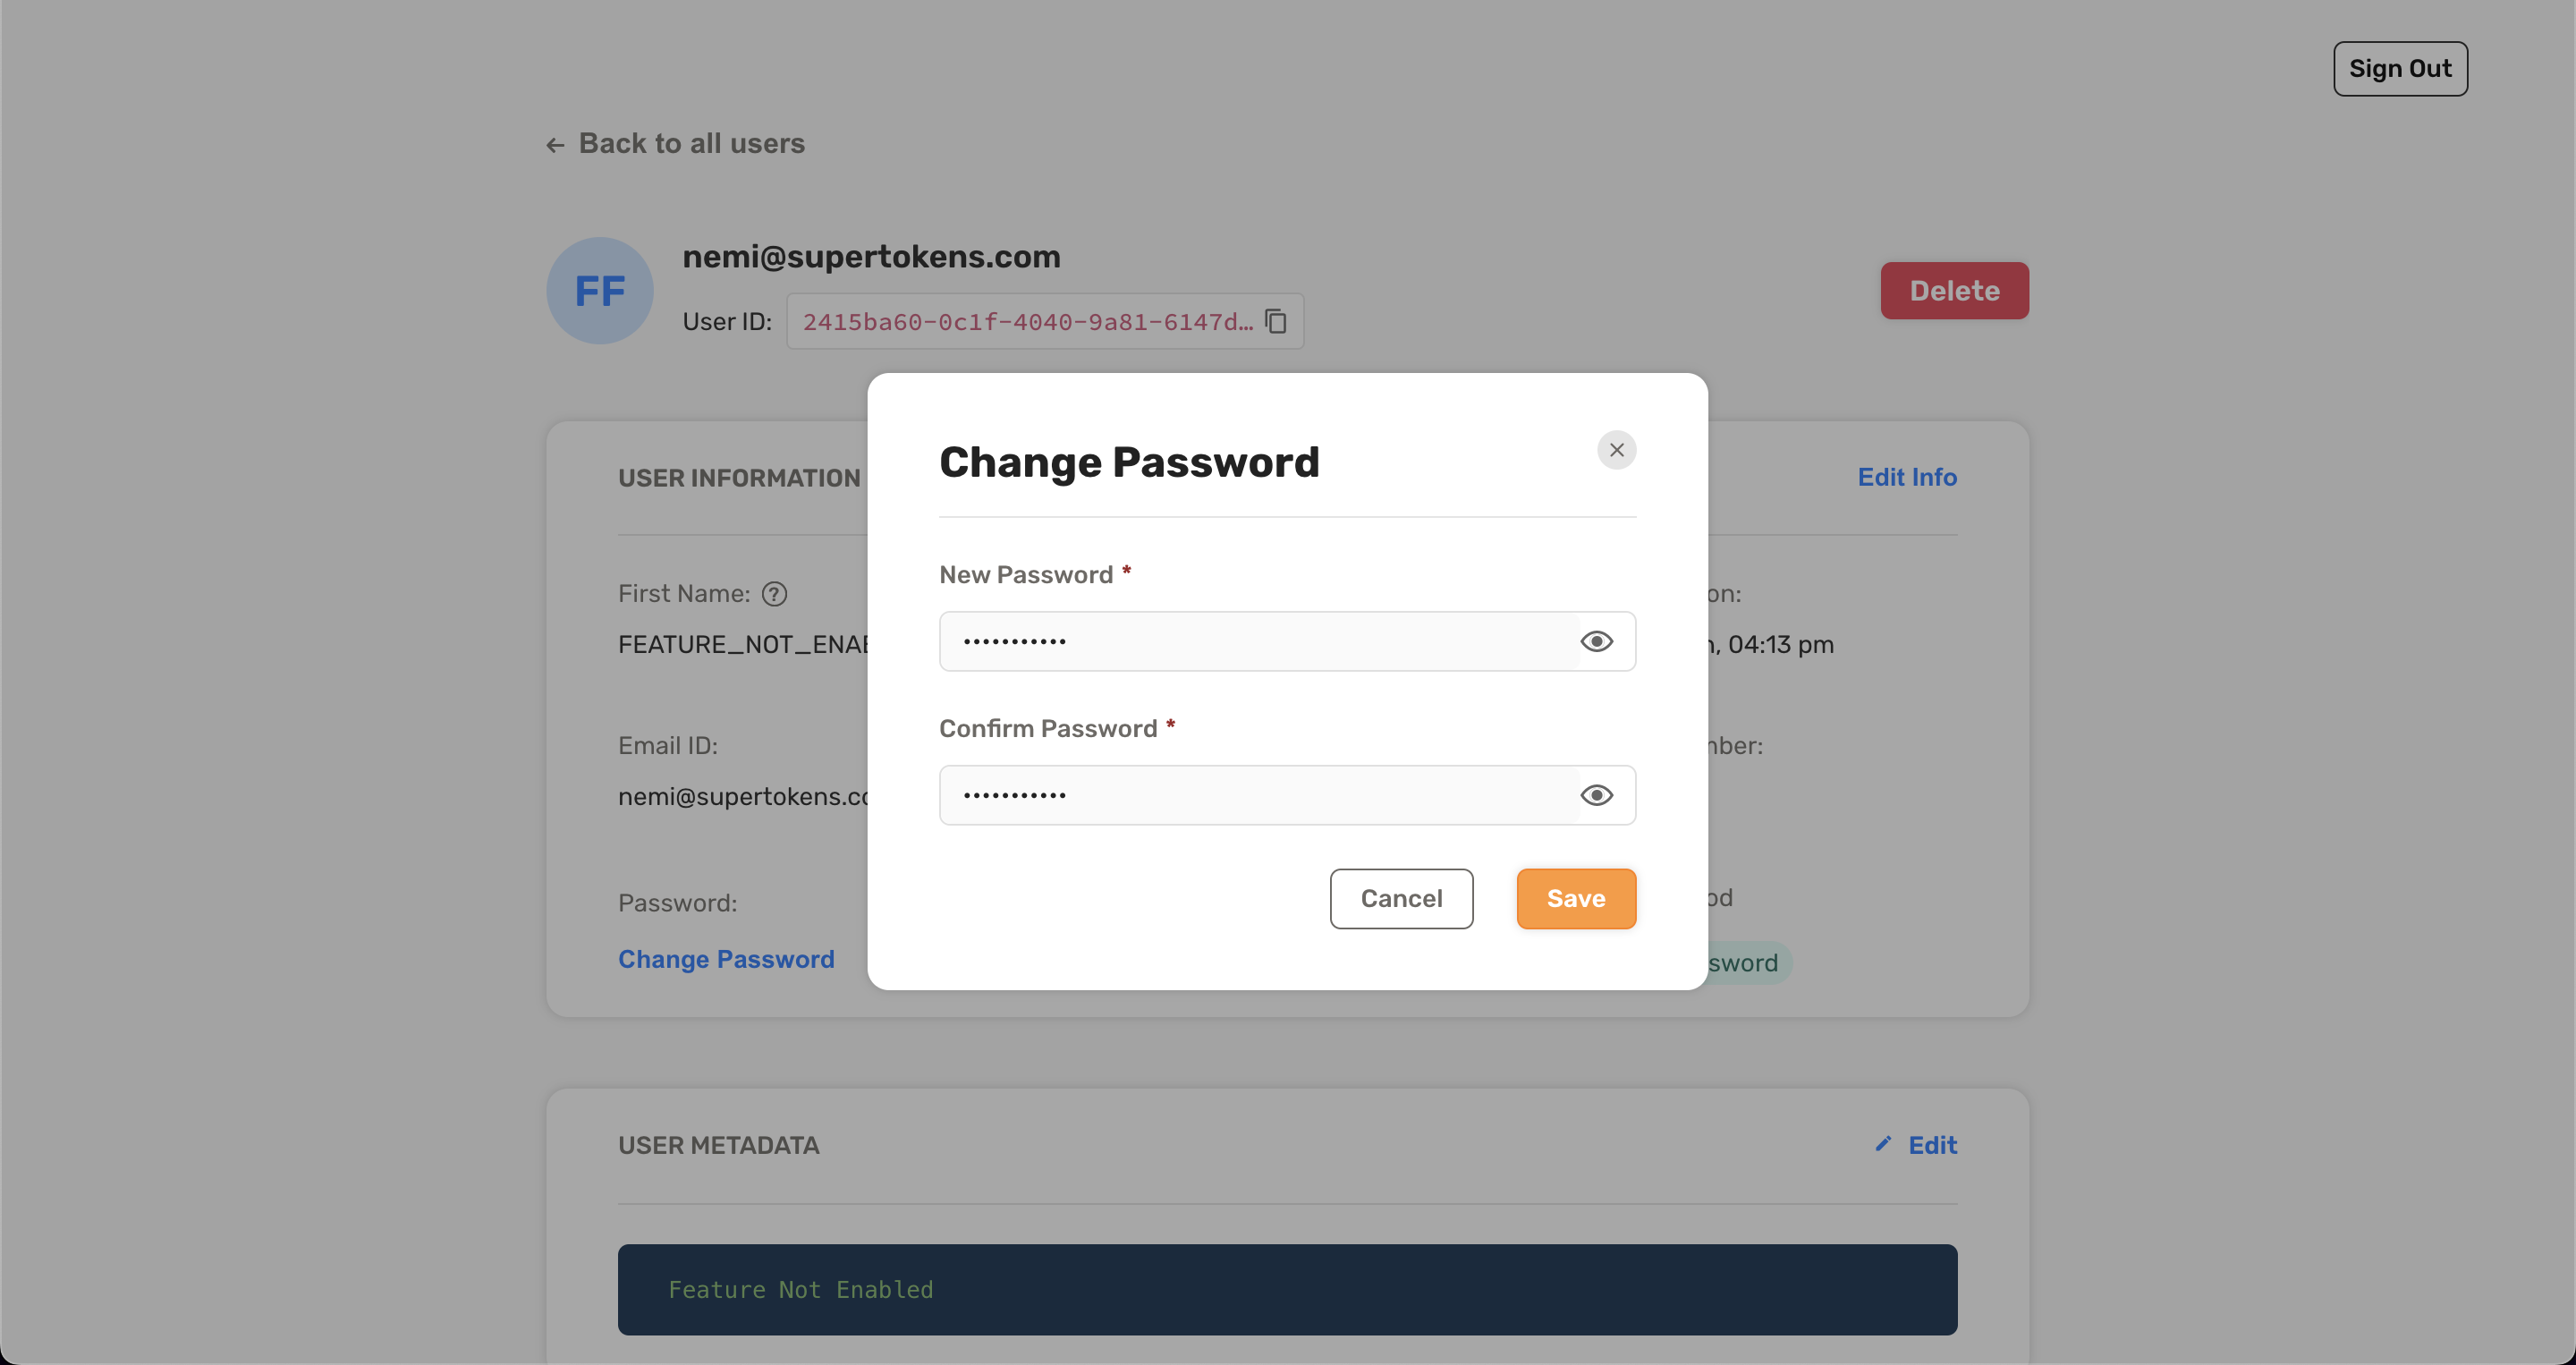
You can edit user information and perform actions such as resetting a user's password or revoke sessions for a user.
Note
Some features such as user metadata and email verification have to be enabled in your backend before you can use them in the user management dashboard
Managing roles and permissions#
note
Coming Soon
Restricting access to dashboard users#
When using the dashboard recipe you can restrict access to certain features by providing a list of emails to be considered as "admins". When a dashboard user logs in with an email not present in this list, they will only be able to perform read operations and all write operations will result in the backend SDKs failing the request.
You can provide an array of emails to the backend SDK when initialising the dashboard recipe:
important
- Not providing an admins array will result in all dashboard users being allowed both read and write operations
- Providing an empty array as admins will result in all dashboard users having ONLY read access
- NodeJS
- GoLang
- Python
- Other Frameworks
Important
import SuperTokens from "supertokens-node";
import Dashboard from "supertokens-node/recipe/dashboard";

SuperTokens.init({
  appInfo: {
    apiDomain: "...",
    appName: "...",
    websiteDomain: "...",
  },
  recipeList: [
    // TODO: Initialise other recipes
    Dashboard.init({
      admins: [
        "johndoe@gmail.com",
      ],
    }),
  ],
});
import (
    "github.com/supertokens/supertokens-golang/recipe/dashboard"
    "github.com/supertokens/supertokens-golang/supertokens"
  "github.com/supertokens/supertokens-golang/recipe/dashboard/dashboardmodels"
)

func main() {
  supertokens.Init(supertokens.TypeInput{
      RecipeList: []supertokens.Recipe{
        // TODO: Initialise other recipes
        dashboard.Init(&dashboardmodels.TypeInput{
          Admins: &[]string{
            "johndoe@gmail.com",
          },
        }),
      },
  });
}
from supertokens_python import init, InputAppInfo
from supertokens_python.recipe import dashboard

init(
    app_info=InputAppInfo(
        api_domain="...", app_name="...", website_domain="..."),
    framework='...',
    recipe_list=[
        # TODO: Initialise other recipes
        dashboard.init(
          admins=[
            "johndoe@gmail.com",
          ],
        ),
    ]
)
Content Security Policy#
If you return a Content-Security-Policy header in from your backend, you will need to include the following directives for the user management dashboard to work correctly
script-src:
  'self'
  'unsafe-inline'
  https://cdn.jsdelivr.net/gh/supertokens/

img-src:
  https://cdn.jsdelivr.net/gh/supertokens/
